Showing posts with label Floral. Show all posts

Sunday, July 14, 2013

Finding Great Design on Vacation


I've been on vacation since the 4th, with reality making a strong comeback Monday morning.  I'm actually excited about getting back to work, because I have so.much.going.on.  But before that happens, I want to share some pictures I've taken, first in Rockport, Mass, and then in Newport, RI.  I love seeing design everywhere I go, and I thought you might like to see it, too...


Whether design is grand or humble, in a home, restaurant or garden pot, there is always something to learn from the way a caring hand or thoughtful mind has put together color, texture and materials.


Is it a stretch to find design in the asymmetrical balance of a raspberry floating in champagne?  I think not ;-)

Now, on to Newport.

 
These copper pots in a fudge shop speak to my inner cook/designer every time I see them, from their beautiful form to their fantastic arrangement on the wall.


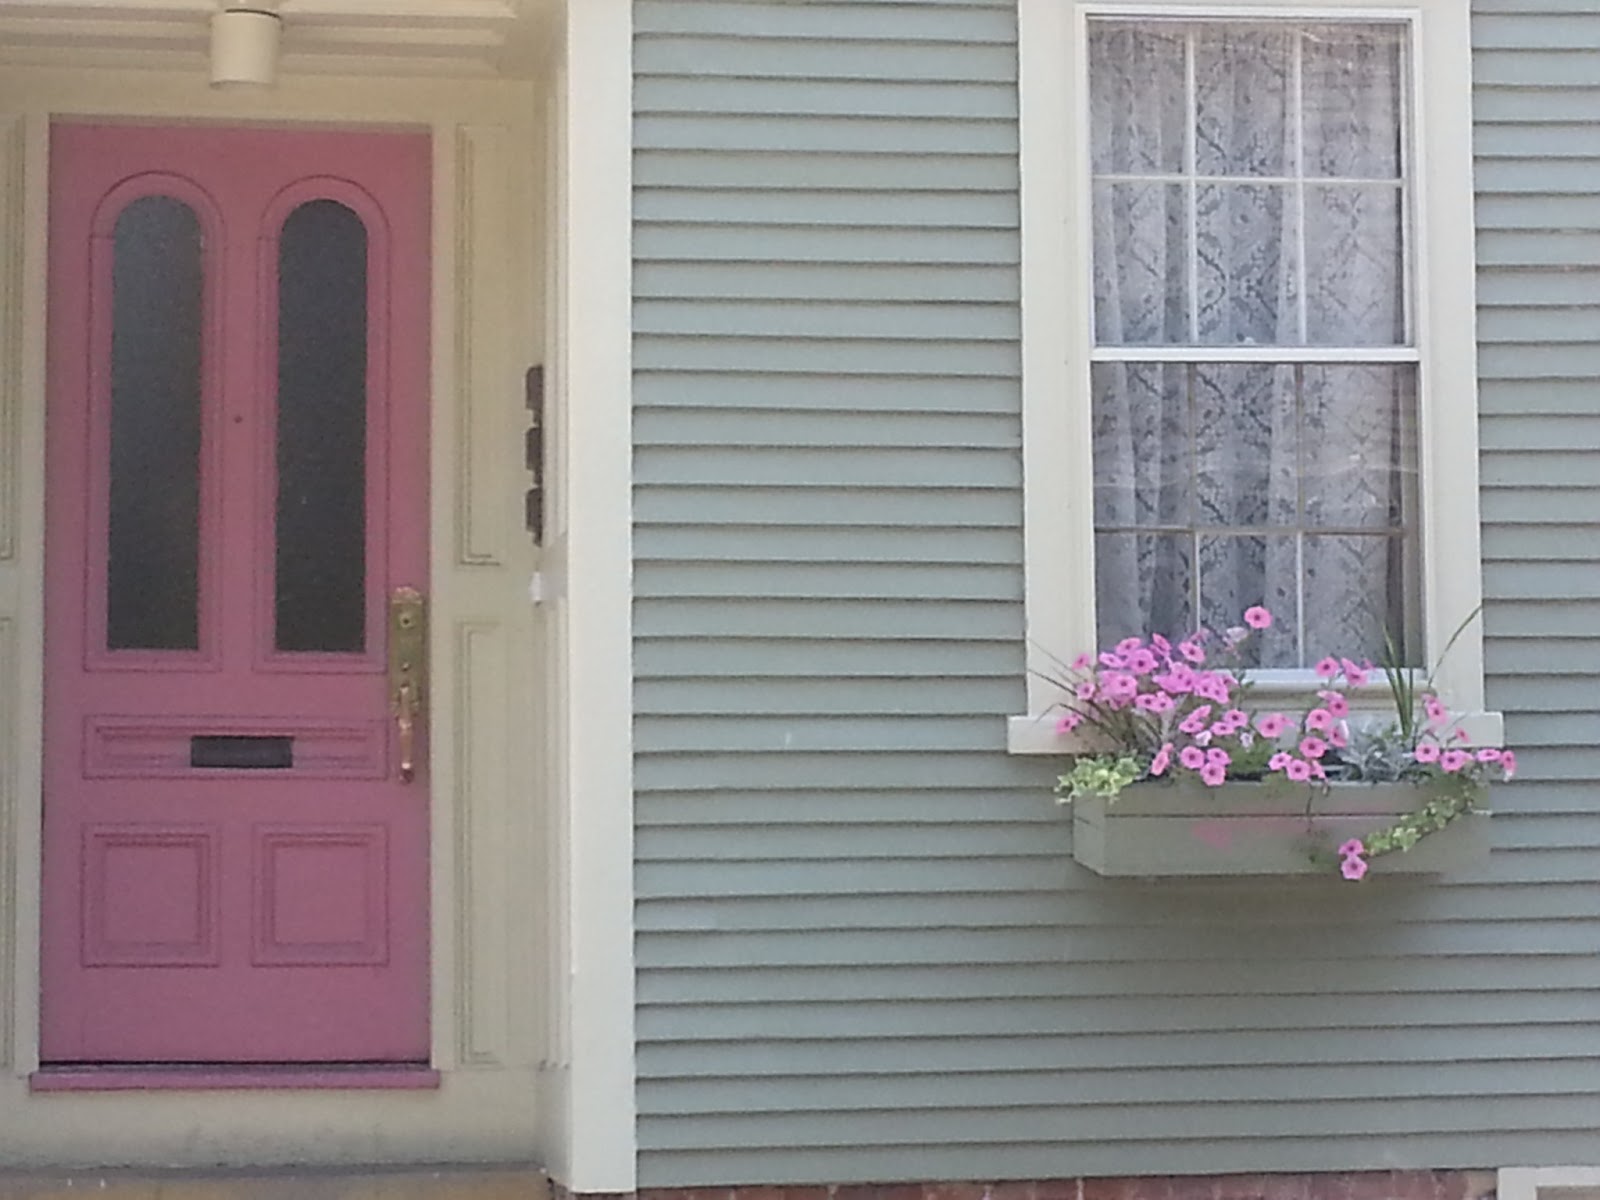
These two front doors just begged to be included in this post, because really, are there prettier colors for two antique colonials in a very summer town?


There were two restaurants that had me snapping my camera.  The next few are of 41North.  The design is spectacular...


These two images are in the same space, an outdoor function/lounge area...


All the white was so crisp and high-end nautical.


The next several shots are from Midtown, a new place in a totally refurbished building.  LOVE.IT.


There are three bar areas, and this my favorite, because the mood the high gloss red walls added to the entire place was just fantastic and unexpected...


Here's more of the first floor dining room...


Great texture and tones, yes?


I even though the ladies room was well done...


Great lighting, too.  Kudos to the design team on this restaurant.  They paid attention to every detail.


And, just because I love garden design, whether in a landscape or pot, I'm ending with this one of a pair of hanging pots on a beautiful store front...


I love when attention to detail is so obvious on the outside, you just have to see what's on the inside!

I hope you all are enjoying your July.  I will be back soon with project updates and other fun happenings.

Till then,
Carol


PS  To my blog friends who don't see yourself listed in my reading list, I promise it's coming!

Monday, December 27, 2010

It's Still the Holidays, Isn't It?

This week between Christmas and New Years is still the holidays in my book, despite my gasping "Aaahh!" when I look around blog land and read of decorations being taken down and new projects being posted.  Yikes!  I'm practically still in my pajamas opening presents.  Ok, well, not really, I did work today.

But tonight...I started on my table for New Years.  Actually, we're doing absolutely nothing on New Years, and instead having a dinner party on the 30th.  But, it's New Year's to me, so I swapped out my Christmas dining table and changed it over to winter glam.  My chandelier has gone snowy in honor of the blizzard...


I needed some low, snowy, icy looking arrangements for the table, so I took some vintage glasses I have and stuffed them with some pearl garland (notice my shiny gold fabric -- lovin it!).


Then added some white hydrangeas with sparkle, and a couple of crystal-y sprigs...


And I got my little snowy arrangements...


I'm not posting much this week, as I've vowed to take a break to rev up for the the new year.  But I couldn't resist sharing a bit.  (I say I'll slow down and take it easy, but I never do.  I can't.  I don't know how.)

I'll be back with a look at the party.  What are you doing for New Years -- are you decorating?

Talk to you soon,
Carol


Saturday, December 4, 2010

3 Tips for Great Arrangements

The two arrangements I put together for my dinning room table (here) had a couple of tricks to them I thought you might find useful.


Tip #1.  If you're using a container with a small opening,  stuff some newspaper in first to add some extra support.  This will help your artificial stems, which can be thick and heavy, to stay where you want them, and it provides a base for the floral foam that goes on top.  (Raise your hand if you've had your floral foam fall through to the bottom of the container.  Hellooo down there...That would be me, too.)


Tip #2.  Floral clay (or "gum") needs to become your BFF.   Seriously, this stuff is amazing, and you can get it at any craft store that carries floral supplies.


 This is what I used to tack together the ribbon I put around each vase.  This reduces that bulk you get from tying bows.  I then tied a simple bow out of another piece of ribbon and tacked it on.


Tip #3.  Add bows to both sides of an arrangement using floral clay.  With the reduced bulk from the floral clay, you can add a bow to each side of the arrangement (if you keep the bow pretty simple) so that it can be enjoyed as a complete design from both sides (great for centerpiece arrangements).  You can see the two bows if you scroll back up to the first image.

I hope you find this useful as you go about inventing your holiday (or every-day) arrangements.  For more on making a complete floral arrangement, see what I did here.

Talk to you soon,
Carol


Thursday, November 11, 2010

How To Create a Floral Arrangement on the Cheap

I love arranging flowers.  They are never perfect, but the process -- perfect relaxation on my day off.  In need of an arrangement I could use through Thanksgiving, I went about the yard looking for some greenery (free!) to mix with $7 worth of flowers I picked up at the market.  I thought you might like to learn how to make a Fall arrangement on a tight budget.

First, the materials.  I cut some evergreen branches off my weeping shrub (don't know the name), some king's gold cypress (mine's more green-gold since it gets no sun), azalea branches, pachysandra, and a bit of catmint.


You can see here I have my mums, some cinnamon scented pine cones (clearance at Michael's right now for $.99), some long cinnamon stick (another clearance for $1.99), and my $20 tin that was reduced to $3.99.  Woo-hoo!!

Step one is always soaking your floral foam in water (at least 10 minutes) to keep everybody in the group drinking.  If I'd remembered to buy it, I would have used florist's tape to keep the foam in place.  Oh, and make sure to line the container so it doesn't leak.  I used foil as I didn't have a plastic liner.


Make sure to put the foam in snug.


An arrangement should have a high, middle and low rhythm, which florists sometimes call the sun, moon, and earth.   To build support for these three elements, you need to start with the greenery.  (I have a floral designer friend, Charlene, who recently told me to work from the greens up -- I had always started with my sun, moon, and earth and filled in around them.  Who knew?  Thanks, Charlene!)

Here, I want a longer, oval arrangement, and I've decided I want it a bit asymmetrical so that it doesn't look too contrived.  I start with my weeping evergreen...


I put the branches in almost horizontal to the container to keep them low and droopy.  I'm also showing you how I propped my container up to make it easier to work with.  Next, I add in the king's gold and the azalea to start to beef things up.


Here's a look from the top-down to give you a sense of what your framework should start to look like...


Adding in some pachysandra and some catmint...


Catmint is very soft and wimpy.  To get a bunch to go into the foam together, I wrap them with some floral tape that is made for this purpose...


Make sure as you assemble your arrangement that it looks good from all sides, especially if it's going in the center of your table.  Next, I'm adding my sun, or the height...


As with decorating, remember to use odd numbered elements when you can.  Now, I'll fill in with smaller mums (again, like decorating, vary your scale).  It's important to carry a bit of the color over to the other side, which I did with the red mums.  It provides balance.


For my moon, or mid-height, I'm adding some fresh fruit.  Here, I'm taking a floral stake and putting it in a pear. (I like the freshness and autumn color it provides).


Now for some apples...


The asymmetry continues with cinnamon sticks added on the right...


To add pine cones, I tie them to a stake with floral wire, first wrapping the wire around the stake, then the pine cone to the stake.  Make sure to hide the wire by pulling it in to the center of the pine cone as you wrap around.


The pinecones are added, and wha-la!  The arrangement is done.  Oh, I did add one sprig of orange "lanterns" from Michaels ($1.99) for a little extra height.


So, not all that hard, right?  You can use anything you have in your yard, and hopefully, if you follow this simple construction, you'll have something fresh and great smelling to add to your home, like I did, here...


In my "buffet-scape" I added a background picture of my husband's quaint hometown, as my guests will be from the same area.  Just a little personal touch when Thanksgiving comes...


I hope this inspires you!  If you make your own, please send me a picture and perhaps I'll do a follow-up post!  Email me at SofasandSage@gmail.com

Talk to you soon,

Carol